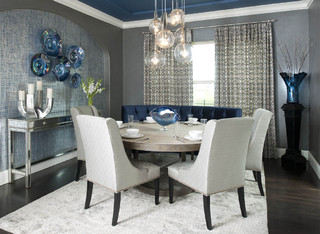

This is the first time that I have decided to make a departure from my safe colors of red, gold, and green and go with something totally different in this house. My husband and I were ready for a change, and hey, we are in New Orleans now, so why not go with some bolder colors?? Ultimately we decided to go with a darker gray and a teal/blue accent color. I love the first photo above, but the color was a little too blue for my taste, and I didn't have the step ceiling. So I selected a color with more green in it and used it on one wall only.
Here are some before photos.


Here is a rundown of what we did to the room:
- Wiped down all of the crown and baseboards with spic and span to remove the years of dust and dirt build up.
- Caulked all of the crown and baseboards
- Used dry decking to build up the corners of the window sills where the previous owners dogs and chewed them off. (in the future these boards will eventually be replaced)
- Pulled out all of the nails the previous owner had put in and filled with dry decking
- Sanded down huge texture globs that were left from the previous owners
- Repainted all crown and baseboards
- Repainted back of front door and closet door
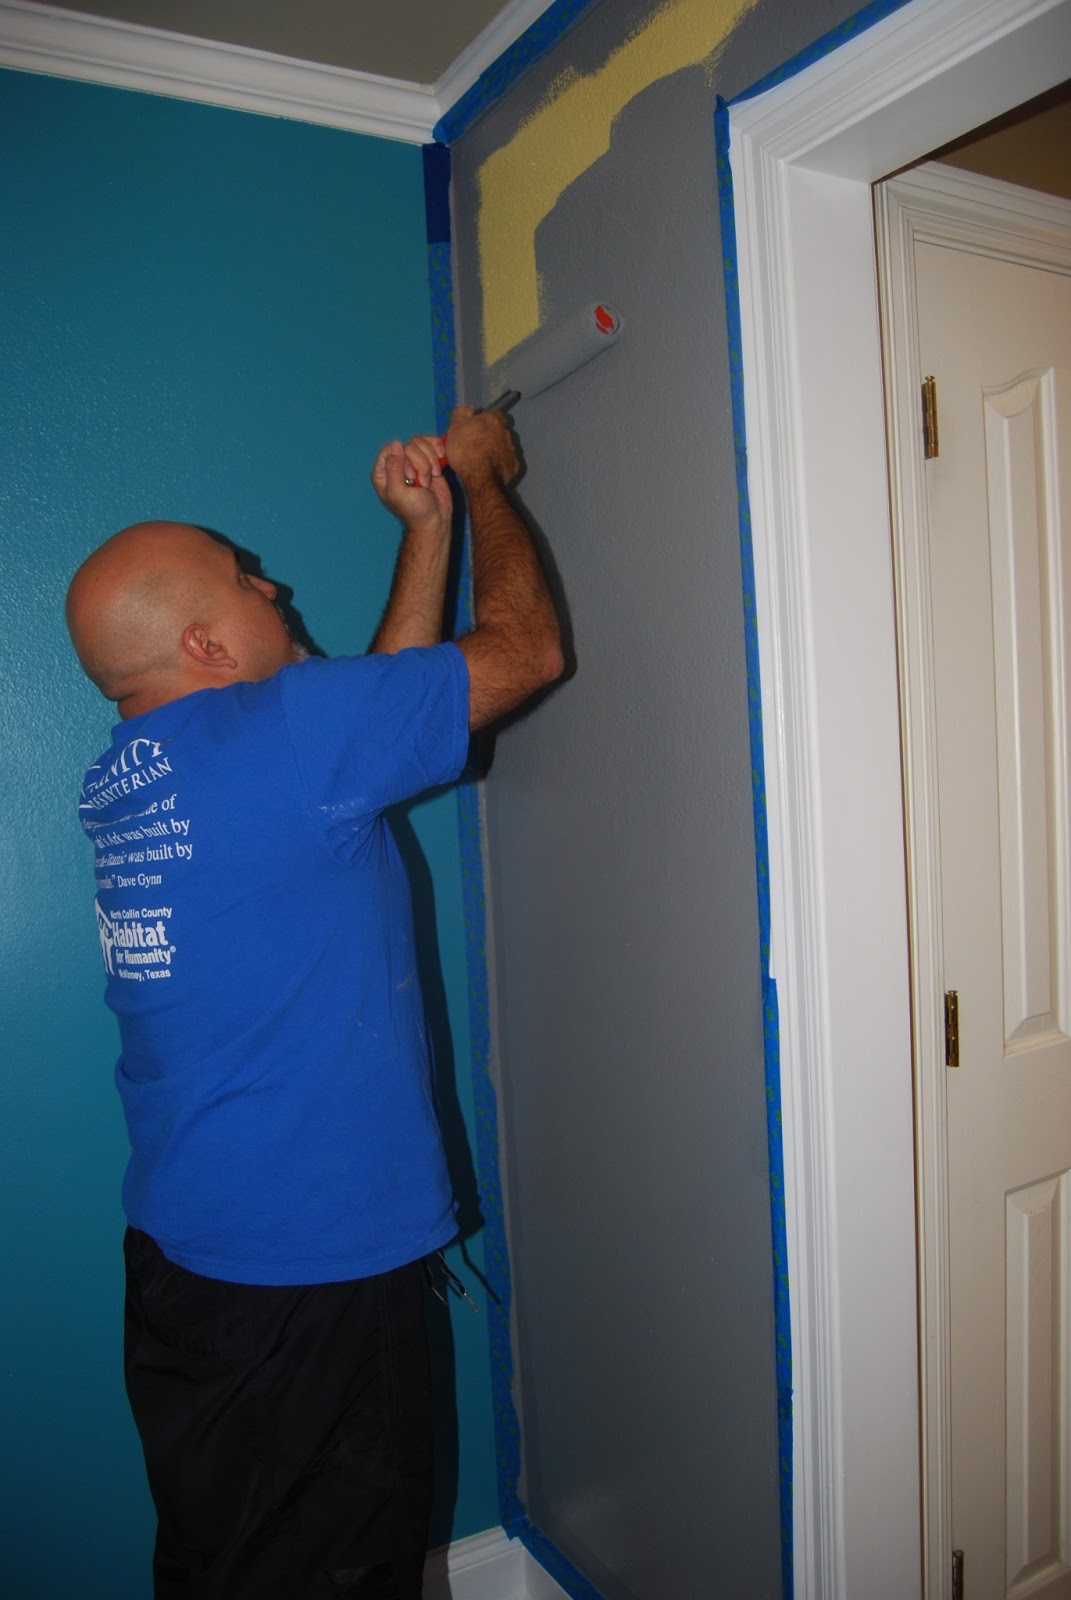
- Painted walls grey, two coats
- Painted wall teal, two coats
- Removed old cream switches and plugs and re-wired both with new white ones.
- Removed old cream switch and plug faces and replaced with fresh white ones.
- Leveled out table and china cabinet with shims (because the flooring is so unlevel)
- Unpacked all china dishes and put in cabinet.
Here are the during photos.


And the after, as of today.


 |
| This picture is probably the closest depiction of the true teal color. |


Still on the to-do list for this room:
- Hire electrician to come out and remove the old chandelier and hang the two that I have ordered. Here are the two that I ordered to go above the table from Overstock.com
- Find an entry way rug
- Buy and hang a new entry way light
- Buy and hang the new single light spot light that shines on the china cabinet
- Hang wall decor
- Order and install plantation shutters!

So, we still have a ways to go, but we are getting there. I want this room wrapped up by the end of March, so you know, like in 13 days!!
Linking up to:
Linking up to:
One room, one day at a time,
Cara-Lyn
Projects like that are always so time consuming but the finish look is always worth the wait. Good job. I am also working on a fairly large project also. I know the feeling.
ReplyDeleteaccording2sharon.blogspot.com
Thank you Sharon for the words of encouragement! Good luck on your project as well!
DeleteYou have definitely made a lot of progress! I've been working on my living room but my dining room is next on the list! I can't wait to see your finished room.
ReplyDelete