Search My Stuff!

Friday, December 30, 2011

Reflectings of a Crafting Year!!

So, I know that you think I had fallen off the face of the earth, but no, I did not, just have been extremely busy.  I have actually completed a lot of crafts this year.  Some I finished up literally minutes before they had to be given as gifts so I wasn't able to take a picture of the finished product, but I have listed out everything that I can remember and added a picture if I have it.  **More pictures to come later**

So, let's start with my recap!


  1. Ella Shae's baby quilt.  I made a baby quilt for my cousins baby.  Unfortunately all I have are photos of it in the works, and the photos of the finished quilt were lost.
  2. Ella Shae's baby booties, embroidered bib and plain bib, and embroidered burp cloth.
  3. My Halloween quilt
  4. A baby quilt for my friend Shelley who had twins, a boy Alexander and a girl  Avery.
  5. I embroidered 65 stockings for the all of the staff at my daughters elementary school.  The best school in McKinney, Texas!!  Go Bennett Bears!
  6. I made a Jasmine costume for my daughter to wear on our family Disney vacation in October.
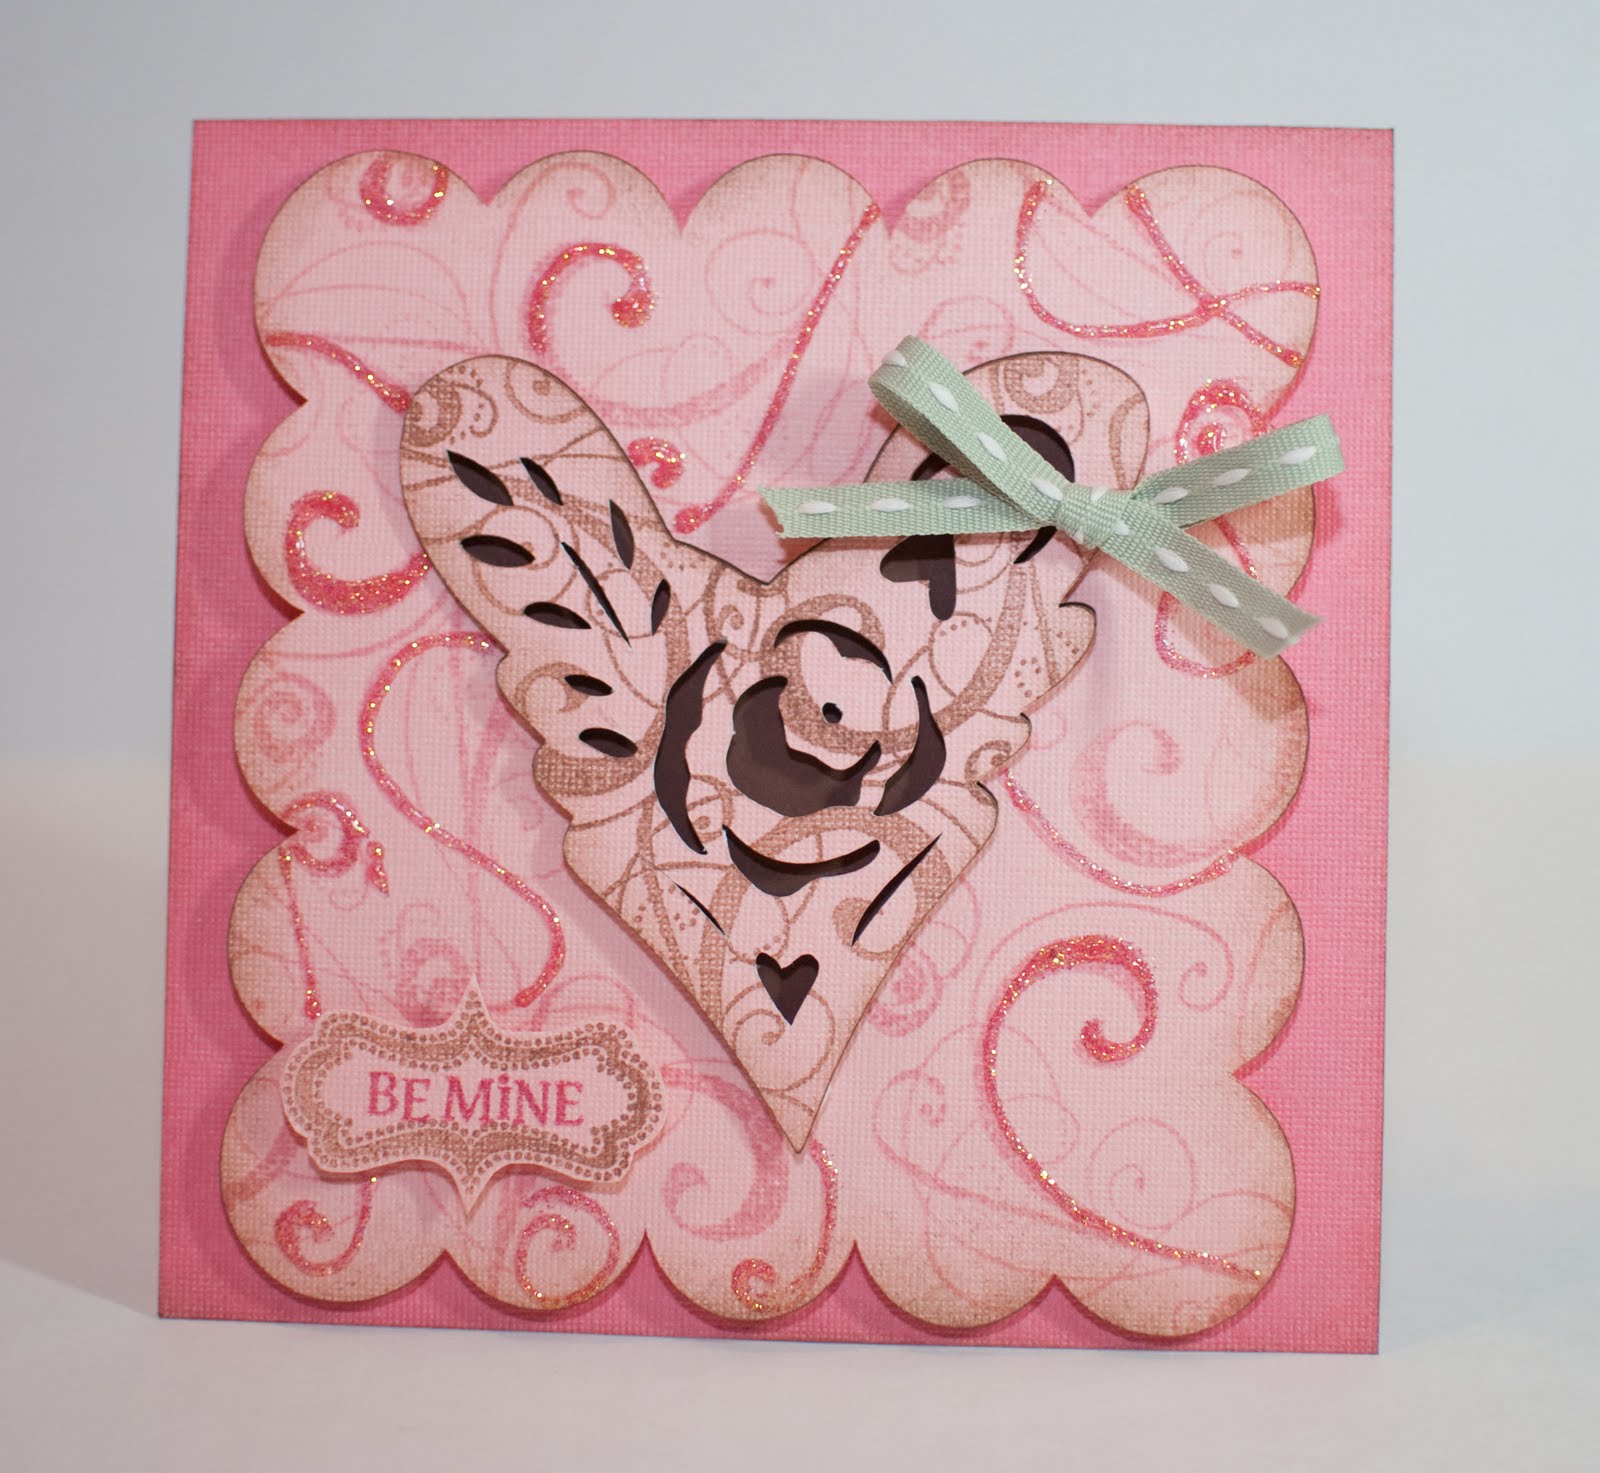
  7. Valentines on my cricut for my daughter to hand out at school.
  8. A baby doll sleeping bag and pillow.
  9. I made 2 paper calendars (one for mom and MIL)
  10. I made 1 digital calendar for my dad.
  11. I made a shirt for my daughter to wear for her 6th birtday.
  12. I made a shirt for me that has all of my favorite colors in it.
  13. I made shirts for my husband, my daughter, and myself to wear at Disney.
  14. I embroidered a blanket as a teacher gift for my daughter's teacher.
  15. I started a 36 patch quilt (still working on it).
  16. My daughter and I made Valentine decor for the house.
  17. I designed digitally all of the printables for my daughters birthday party.  (That was  a bit challenging, but worth it!)
  18. I embroidered about 15 bags with each child's name as party favors for my daughters party.
  19. I made a fall pumpkin from fabric.
  20. I made an Angry Bird costume for my friend's son.
  21. I made a paper advent calendar for the month of December.
  22. I embroidered 5 dishtowels for my kitchen.
  23. I embroidered 3 cute dishtowels for my mom as a Christmas gift.
  24. I designed and cut a Disney autograph book using my Cricut.
  25. I made ornaments to hang on my Halloween tree.
  26. I made a Halloween banner using my Cricut.
  27. I made a quilt for my mother in law who was diagnosed and conquered breast cancer this year.
  28. I made baby shower invitations for my friend who was having twins.
  29. I used my Cricut to cut out vinyl and decorate my daughter's pickle bucket for Girl Scouts.
  30. I used my Cricut to cut out designs for our truck that our girl scout troop used in the Christmas parade.
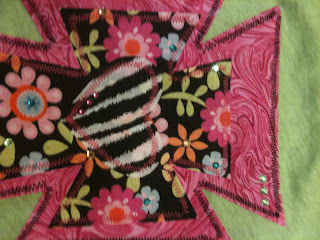
  31. I made a cute shirt for a friend of mine who wanted one for her daughter.
  32. I made Christmas thank you cards.
Whew!!  I am tired!

I hope that next year is just as productive!!

Take care,

Caralyn

Tuesday, July 12, 2011

Baby Shower Invitations

Hi everyone!  I wanted to share with you my video tutorial for the baby shower invitations that I made for my friend.  She is having twins, one boy and one girl, so I had to come up with something that was gender neutral, etc.  I used the Life's a Party Cricut cartridge and used the "bib" cut at 2 inches.  I hope you enjoy the video!  I also added the link below in case you can't click on the video below.

Video Tutorial for Baby Shower Invitation

Wednesday, May 18, 2011

Baby Stuff....

No, I am not having a baby, but my cousin and his wife did!!!  Little baby Ella.  She is a beautiful baby.  To celebrate her arrival, I made her a quilt.  I used fabric from my local quilt shop and followed a tutorial from Amanda Jean on Moda Bake Shop to make the quilt.  Here are photos of the quilt top.  I will have to upload photos of the finished quilt, along with the matching burp cloth, two bibs, and booties with the left over fabric.  I hope she loves them!


Monday, February 7, 2011

Super Bowl Strawberries

OK, so I did watch the game in it's entirety, but I can't exactly say that I "watched" it all.  I enjoyed great conversations with my friends and watched the great commercials and helped regulate the kiddos.  But, it was a great time at our friends house.  We each had to bring something to share, so I made chocolate dipped strawberries and then piped on the lacing of the footballs.  It was my first time piping, so it wasn't as clean as I had hoped.  Oh well, practice makes perfect.  Even though they aren't perfect, they are real, and I wanted to share my recipe with you because everyone commented on how the chocolate didn't crack away from the strawberry and they like it.


What you need:
double boiler
water
milk chocoloate chips
semi-sweet chocolate chips
2 TBS shortening
wax paper
white chocolate chips
sandwich bag
toothpicks
strawberries

In the double boiler, in the bottom part add about 2 inches of water and bring to a simmer.  In the top, I mixed about 5.5 ounces of milk chocolate chips (1/2 bag) and 5.5 ounces of semi-sweet chocolate chips (1/2 bag), and the 2 TBS of shortening.  Start stirring and moving the chocolate around so that it never gets stuck or baked on the bottom.  Once the entire mixture is melted, turn down the heat to low.  Stir the mixture as needed during the dipping phase to keep it smooth.

While that is melting, wipe off your strawberries, but do not wash them.  If there is any moisture on the strawberries, the chocolate will not adhere to the strawberries.  Stick a toothpick in the top of the strawberry.  This is your handle for dipping.  Dip the strawberries in the mixture and place them on wax paper to cool.  After the were all done being dipped I placed them in the refrigerator for about 15 minutes to cure all the way.

Take about 1/4 cup (or less) of the white chocolate chips and place in the sandwich bag.  Heat at 50% power in the microwave for about 1 minute.  You will want to pause it at 30 seconds and squish everything around to help with the melting.  When it comes out of the microwave, carefully cut the smallest pit of the corner of the bag off and this will be your piping bag.

I piped the laces on and then let them sit out for about another 30 minutes before packing them up to take to the party!  Hope you enjoy!

CaraLyn

Saturday, January 22, 2011

Laundry Subway Art

Ok, so I love all of the subway art that is out there floating around in blog world.  I decided to try my hand at it.  I used publisher and created subway art for my laundry room.  It is a jpg, but if you would like thepublisher version to edit for your laundry room or whatever, then just email me at carlyn225@yahoo.com and I will email you the file.  I will try to post a picture of it when I get it hung in the frame.  I actually have it printed and in a frame, I am just waiting to hang it on a nail.

In our house we have instituted a new laundry policy.  Each person has their own day to have their laundry done.  Granted Caitlyn is 5, but still she has learned that when she takes clothes off they go straight in her hamper or I don't wash it on Tuesday.  My husband right now handles his own laundry during the winter.  Once summer picks up and he is doing more outside duties, then I will probably pick up the slack for him.  He also does sheets on Monday, and I do towels on Friday.  We NEVER do laundry on the weekend now and it is so nice!  I also only do 2 loads for each person, 1 light colored clothes and 1 dark color clothes.  This system has really cut down on me running through the house to gather all of the "blues", then washing, and folding, then running all the way back through the house to redistribute all of the blues.  This way everything that goes into the washer is one person's from one room and it all goes back to that room.  So there you go, my laundry tip for you all!

Have a great weekend everyone!
Caralyn

Wednesday, January 19, 2011

Kindergarten Layout

Fancy title, huh? Oh well, I'm sure they will get better over time. Anyways onto the layout, I made this layout of my daughter's first day of Kindergarten, and believe it or not it is recent and she is still in kindergarten. But, don't fool yourself into thinking that I am that caught up in my scrapbook layouts, because I am far from it. I really don't know where I am with my layouts. I tend to scrap what inspires me and then at one of my scrapbook retreats I will sit down this year and figure out where I have holes and fill them in.


For this layout I used the Celebrations Cricut cartridge to create the scalloped square.

I used the Gypsy Font for the "First day of" and welded the letters together. I used Plantin Schoolbook cartridge for "kindergarten".


I don't have the patience to sew buttons onto my layout, so I layered 2 flowers, used a glue dot to attach the button, then used 3 rhinestones in the center. I think it works fine.

I have some cute Valentine postcards that I worked on tonight that I will hopefully have time to post on Friday.

Have a wondeful day!

Wednesday, January 5, 2011

My Pink Stamper Submission

I am so excited. I am getting together my gumption and trying out for Robyn's design team at the "My Pink Stamper". She has such wonderful things on her blog and I love her videos! Maybe one day I can be on there with her! So, here is my submission. I love the vintage valentines that people used to give in the 30's and 40's and this card was inspired by that.


As part of the challenge we had the following guidelines: we had to use Pink, Brown, and Green and our favorite cricut cartridge. Well, hands down, my favorite cartridge is A Child's Year. So to do the card, I used my new Birtday gift from my husband, the Gypsy, and used the scalloped blackout square from Plantin Schoolbook to make a 5x5 scalloped square, then I used A Child's Year and used the valentine on page 30 (the icon) and roughly centered it in the middle of the scalled square. It is aproximately 3.5 inches tall. Then I cut it out. :) Awsomeness!
So, here is the recipe for this card:
  • Die Cuts With a View Pink #3 Cardstock cut at 5.5x5.5 (this is the base)
  • Die Cuts With a View Pink #2 Cardstock cut at 5.5x5,5 for the gypsy cut above
  • craftstore Brown cardstock cut at apx. 4x4 attached to the back side of the scalloped square
  • Then I stamped, using the Autumn Leaves "Swirls by Rhonna Farrer" small corner stamp, in Chestnut Roan ColorBox ink, randomly over the heart cut out.
  • Then I stamped using the same swirl stamp in Blush (Close to my Heart ink) over the scalloped square.
  • Next I inked the edges of all three pieces, the heart, the scalloped square, and the large cut square with a sponge and Chestnut roan ink.
  • I then stamped the scalloped word outline in Chestnut Roan using the Annotations stamp set and the "Be Mine" from the Thoughtful Seasons stamp set in Tulip ink. (Annotations, Thoughtful Seasons and Tulip ink all from Close to My Heart). I then cut out using my scissors the sentiment.
  • Using Recollections Foam Adhesive Strips, I popped up the heart, and the sentiment on the scalloped square.
  • Then using the same foam adhesive, I popped up the entire scalloped square.
  • To add some sparkle, I randomly used "Fruit Punch" Stickles to go over some of the stamped swirls to give it some texture and interest.
  • Last, I tied a small green bow and using a mini glue dot attached it the heart.
  • This is a flat valentine card. Your personal message would be written on the back of it.

Please leave me comments if you like/don't like the cards. This is my first submission for a design team, and I while I have a long shot of making it, I would welcome your feedback for improvement so I can continue to apply for other design teams until I find one that will have me!

Thanks for looking,

CaraLyn

Saturday, January 1, 2011

Happy New Year!

I love the New Year!!  It gives us a time to reflect, to ponder the future and set some goals!  One goal of which is for me to get on here and upload the dozens of photos and tutorials that I have been working on and collecting.  I am a crafter at heart and want to use this blog as an outlet for my creations.  I recently (as in the past two days) turned a spare bedroom into my crafting room.  I look forward to all of the things that will take place in there (including spending time with my family).  2011 is going to be a great year and I look forward to blogging with you!